How to Read a Bread Map: A Beginner's Guide to Regional Loaves
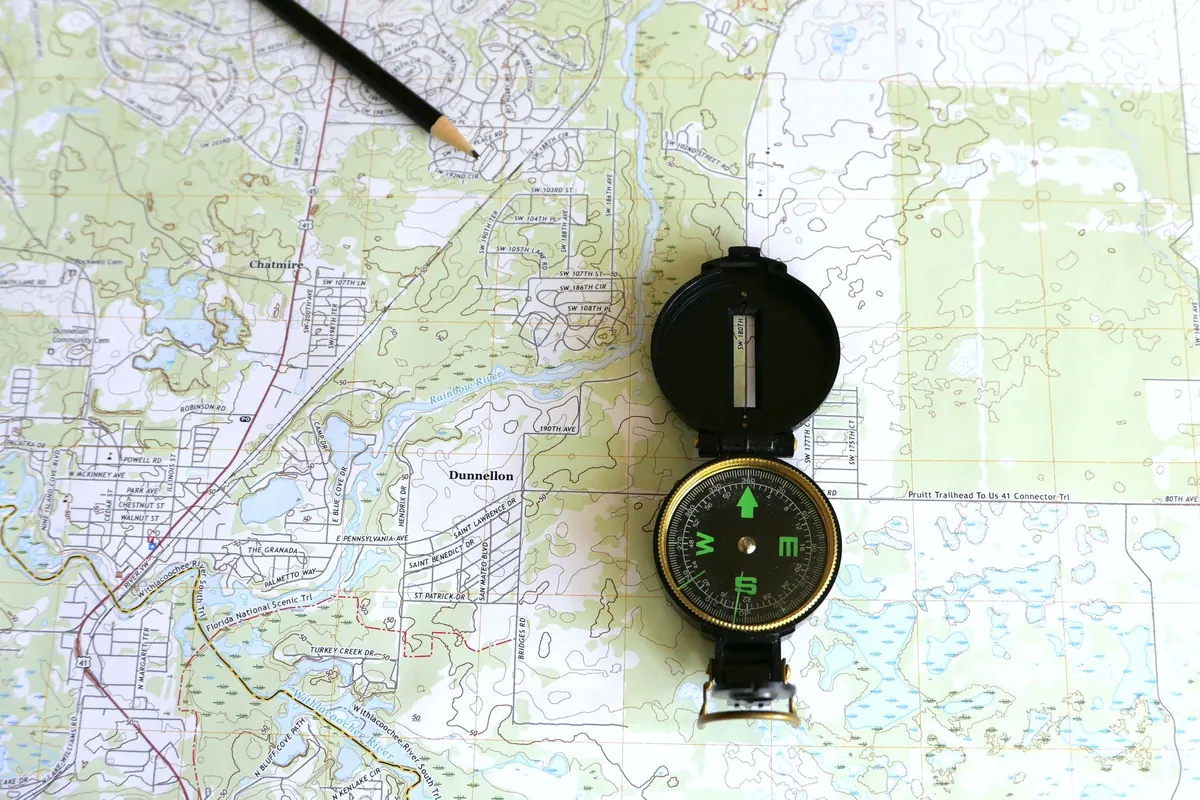
A bread map is a drawing of decisions. Grain, water, time and heat — the four things every baker works with — arranged differently from valley to valley, then laid out on the page so you can compare them at a glance. On a first look it can resemble a subway diagram in a language you don't read: dotted lines, small fan-shaped symbols, shading that might mean rye or might mean rainfall.
That feeling passes quickly. Most bread maps are built from a small, repeatable vocabulary, and once you know the dozen marks that do the real work, you can look at almost any of them and say something genuinely useful about a loaf before you taste it.
The Three Layers Stacked on Every Map
Almost every bread map you meet is really three maps printed on top of each other.
The first is geography: coastlines, mountain ranges, rivers, a handful of town names. This layer is a filing system, not a claim of purity. Bread has always moved with people — with migrants, soldiers, millers and merchants — so treat a regional boundary as a hint about where a loaf is common, not as a wall it never crossed.
The second layer is grain, usually shown as shading or a band of colour running across the terrain. The third is method: fermentation style, shaping habit, oven type, sometimes hydration.
Good maps keep these layers visually separate. If the one in front of you doesn't, find the legend and read the small type explaining which layer is being shown where. Half of reading a bread map is simply working out which question the shading is answering.
Reading the Grain Zones
Shade means proportion, not presence
A zone coloured in the pale gold of wheat does not mean only wheat grows there. It usually means wheat dominates the local flour — the grain a baker reaches for first. A faintly rye-coloured zone often means rye is present as a supporting flour, mixed with wheat at perhaps a fifth or a third of the total. That is exactly where the mild, gently sour northern loaves live, not the dense black bricks.
So read shade as a ratio. Saturated colour: the grain is the backbone. Pale wash: the grain is a seasoning.
The seams are where the interesting loaves live
Look for where two colour bands meet and blur. Those seams explain a lot of bread you already like: durum wheat with a little rye, wheat with potato, wheat with chestnut flour in the hills, wheat with barley in cooler country. Bakers on a seam rarely choose; they blend, because that is what the fields and the mill give them.
When a loaf sits right on a boundary, expect a hybrid. Its crumb will be lighter than the pure rye zone and its flavour deeper than the pure wheat zone.
The Fermentation Symbols, Decoded
The fermentation legend is the part worth learning first, because it changes a loaf more than the grain does. You will see variations on these marks:
- A circle with dots or bubbles — a naturally leavened bread, raised by a maintained starter. Expect more acidity, a more complex aroma, and a crust that colours fast.
- A small packet or square — commercial yeast. Fewer sour notes, a more predictable rise, usually a shorter day for the baker.
- A half circle or wedge — a pre-ferment: biga, poolish, levain, sponge. Part of the flour ferments ahead of the main mix. In effect it sits between the other two symbols: some depth, still reliable.
- Clock marks or tick lines — fermentation length. Three ticks for a few hours, five or six for a full day, more for a long cold rest.
- Droplets or a percentage — hydration band. More water means a more open crumb and a dough that asks more of the baker's hands.
Combine them and the symbols start to speak in sentences. Long ferment plus starter plus wet dough gives you the airy, sour, blistered loaf. Short ferment with yeast gives the soft, even, mild slice that holds a sandwich. A wedge with a medium clock tells you the baker is chasing flavour without the full sour profile. Legends differ between maps — some use a stylised ear of wheat for the starter — so spend the first thirty seconds on the key.
Shapes, Scores and Heat
Shape is the layer beginners skip and later come to rely on. A wide, low loaf with a broad slash usually means a slack, high-hydration dough baked on a hearth. A tall, straight-sided tin loaf means a softer dough — enriched, rye-heavy, or both — that needed support. A ring with a hole in the middle tells you about carrying and drying as much as about flavour.
Scores are practical notes, not decoration. One long decisive cut releases steam and lets a strong dough spring upward. A cross, a star or deep parallel cuts appear on dense rye doughs, where the aim is to stop the crust tearing at random as the loaf cools.
Heat completes the sentence. A domed wood-fired oven, a clay tandoor, a flat stone, a lidded pot — each leaves a different signature: bottom char, a blistered top, a pale even bake. If the map marks ovens, it is telling you what to look for on the crust before you ever read the crumb.
From Marks to a Sentence: A Ten-Minute Routine
Any printed map is a simplification made by someone who had to leave things out, so treat your reading as a hypothesis and test it. The loaf's name often encodes its method; the crust shows how hot and how long; the crumb confirms the fermentation. If two of those three agree with the map, your reading is probably right. Here is a routine that works on almost any map:
- Read the legend twice. Thirty seconds here saves ten minutes of guessing.
- Find the grain shading under your finger and decide: backbone or seasoning?
- Locate the fermentation symbol and the clock marks. Long or short?
- Note the shape and, if it is shown, the oven.
- Slide your finger to the nearest zone of a different colour and ask what changed. Usually it is one grain and one method, rarely everything.
- Write one sentence about the loaf: “Durum wheat, long starter ferment, hearth-baked, wide and flat.” That sentence is your reading.
Start With the Loaf You Already Know
You do not need to memorise a legend to read bread maps well. Start with a loaf you already know — a bakery sourdough, a dark rye, the tin loaf you make on Sundays — and find its closest match on the map. Then ask what would have to change to move it one zone over. One grain. One fermentation. One oven.
Do that with three or four loaves and the symbols stop being a code. They become a set of questions you can put to any bread. Keep a line per loaf if it helps: grain, leaven, shape. After a month you will have your own small map, more accurate for your kitchen than anything printed.
Photo: Larry Hyler / Pexels